
I’ve been using Selenium WebDriver with MSTest for a while but I wanted to try it with xUnit.net too. So here is the very basic first Selenium test with xUnit.
Prerequisites:
- Visual Studio (I used Visual Studio 2019 in the examples)
Let’s Get Started
- Create a new xUnit Test Project in Visual Studio
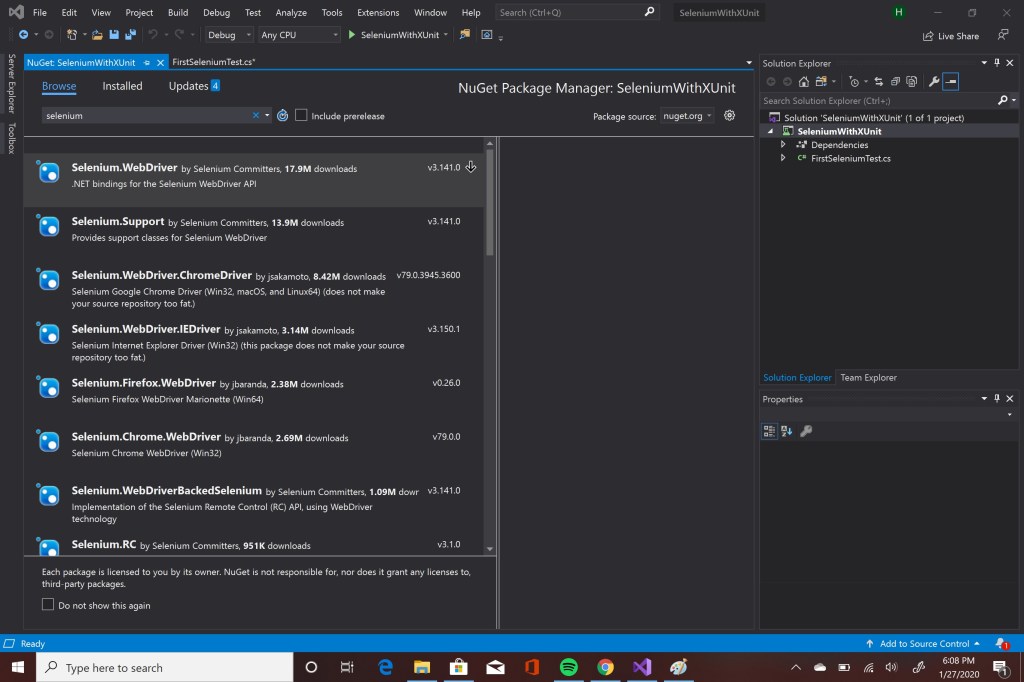
- Open Nuget Manager and add the following libraries
- Selenium.WebDriver
- Selenium.Support
- Selenium.WebDriver.ChromeDriver
- Write your first test case. I used https://demoqa.com in my examples. It’s a free website that you can practice selenium. Since xUnit doesn’t have Setup and TearDown functions as explained here, I used class constructor for setup and Dispose method for cleanup. In this test case, we open a Chrome browser, navigate to “demoqa.com”, get the title and make an assertion to see if page title contains the correct text.
using System;
using Xunit;
using OpenQA.Selenium;
using OpenQA.Selenium.Chrome;

namespace SeleniumWithXUnit
{
    public class FirstSeleniumTest: IDisposable
    {
        public IWebDriver driver;
        public FirstSeleniumTest()
        {
            driver = new ChromeDriver();
            driver.Navigate().GoToUrl("https://demoqa.com/");
        }

        public void Dispose()
        {
            driver.Quit();
        }

        [Fact]
        public void Test1()
        {
            IWebElement searchBar = driver.FindElement(By.ClassName("entry-title"));
            Assert.Contains(searchBar.Text, "Home");
        }
    }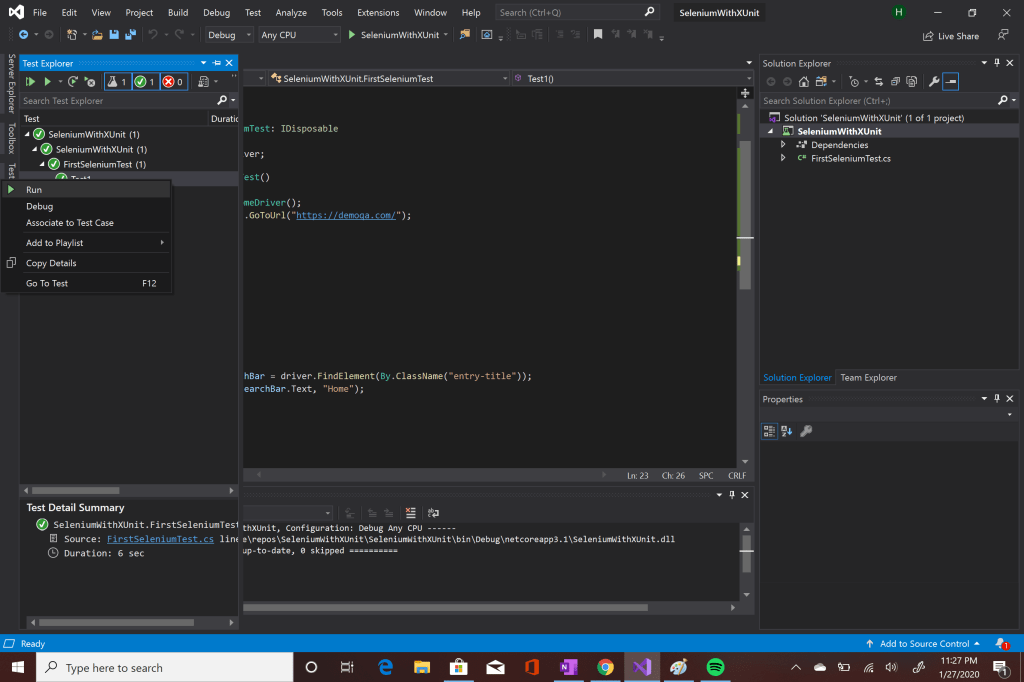
}- Now our test is ready to run. Run the test and check the result from Test Explorer window. If you have a green check, Good Job! You wrote your first selenium test case with xunit.